

Maintaining a clean Microwave Sandwich Maker ensures optimal performance. Regular care prevents food buildup and extends its lifespan. Knowing how do you clean a microwave sandwich maker? is crucial for hygiene. Effective microwave sandwich maker cleaning tips also include preventative strategies. Many users appreciate the versatility of a Microwave Breakfast Maker, wondering what foods can you make with a microwave sandwich maker? Consistent cleaning and preventative steps keep the appliance pristine.
Key Takeaways
- Clean your microwave sandwich maker after every use. This stops food from building up and keeps it working well.
- Unplug the appliance and let it cool down before cleaning. This keeps you safe from burns or electric shock.
- Use soft cloths and mild soap for cleaning. Harsh cleaners can damage the non-stick surface.
- Deep clean your appliance regularly. Use baking soda for stains and lemon juice or vinegar for smells.
- Prevent messes by using cooking spray wisely and not overfilling. Parchment paper also helps keep it clean.
Preparing Your Microwave Sandwich Maker for First Use and Regular Cleaning
Initial Cleaning for Your New Microwave Sandwich Maker
Before its inaugural use, a new appliance requires a proper cleaning. Manufacturers often apply protective coatings or leave residues from the production process. Users should carefully remove all packaging materials, stickers, and labels from the unit. A gentle wash with warm, soapy water effectively cleans the cooking plates and exterior surfaces. Rinse all components thoroughly to remove soap residue. Finally, dry every part completely with a soft cloth before assembly or storage. This initial step ensures food safety and prepares the appliance for optimal performance.
Unplugging and Cooling Down Your Microwave Sandwich Maker
Safety remains paramount when cleaning any electrical appliance. Always unplug the Microwave Sandwich Maker from its power source before beginning any cleaning routine. This action prevents accidental activation and reduces the risk of electrical shock. Furthermore, allow the appliance to cool down completely after use. Hot surfaces can cause burns and may also damage cleaning cloths or sponges. A cool appliance ensures a safer and more effective cleaning experience.
Disassembling Your Microwave Sandwich Maker for Cleaning
Many models feature removable parts, which simplifies the cleaning process significantly. Consult the user manual for specific instructions on how to disassemble the unit. Typically, cooking plates or trays detach easily. Disassembling the appliance allows access to crevices and hidden areas where food particles might accumulate. This thorough approach ensures a comprehensive clean, preventing the buildup of grime and maintaining hygiene standards.
Immediate Cleaning After Every Use of Your Microwave Sandwich Maker
Wiping Away Loose Crumbs and Food Particles
Prompt cleaning after each use prevents food residue from hardening and becoming difficult to remove. Users should wait for the appliance to cool down completely. Then, they can use a dry paper towel or a soft brush to gently sweep away any loose crumbs, cheese bits, or other food particles from the cooking plates and surrounding areas. This initial step significantly reduces the effort required for deeper cleaning.
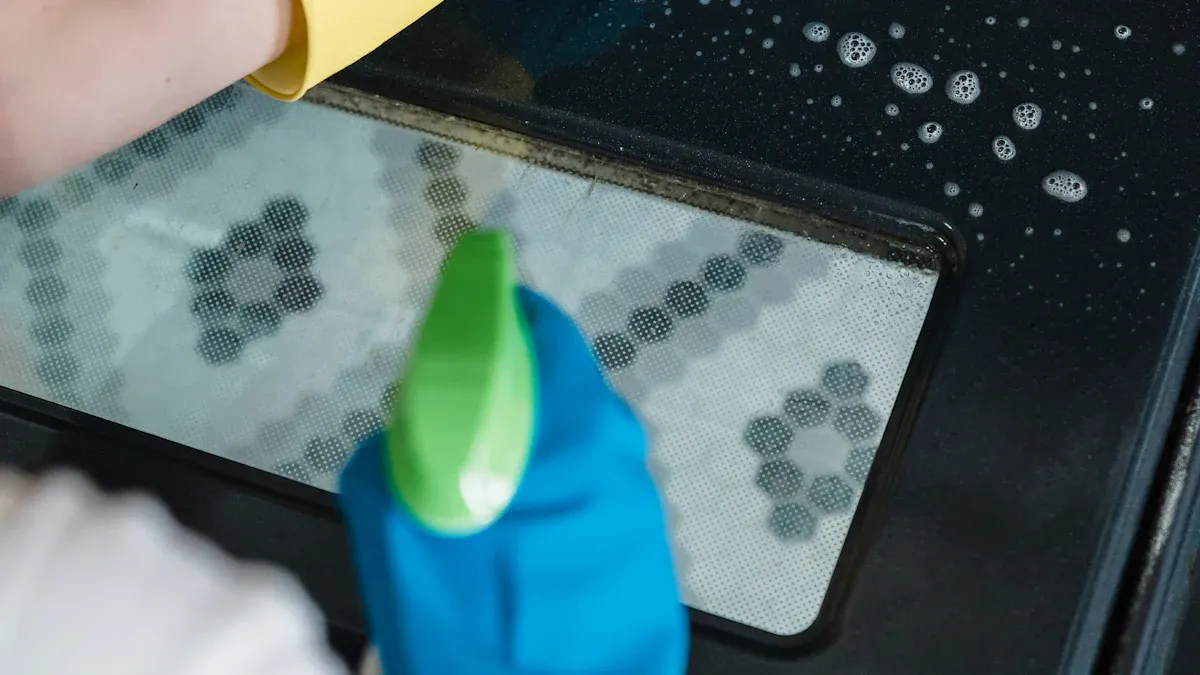
Gently Cleaning Interior and Exterior Surfaces
After removing loose debris, attention turns to the interior and exterior surfaces. For the cooking plates, especially those with non-stick coatings, a damp cloth or sponge is highly effective. Food typically does not stick to non-stick surfaces, making a simple wipe-down sufficient. To avoid scratching surfaces, such as those in a Microwave Sandwich Maker, it is important to use a soft cloth or sponge and apply a gentle touch during cleaning. Microfiber cloths and standard sponges are excellent choices for this task. They effectively clean without causing damage. A slightly damp cloth can also wipe down the exterior casing, removing any splatters or fingerprints.
Thoroughly Drying Your Microwave Sandwich Maker
Drying the appliance completely after cleaning is a crucial step. Moisture left on surfaces can lead to water spots, mineral buildup, or even rust over time, particularly on metal components. Users should use a clean, dry cloth to wipe down all interior and exterior parts until they are completely dry. Ensuring the appliance is dry before storage helps maintain its appearance and prolongs its operational life.
Deep Cleaning Your Microwave Sandwich Maker for Stubborn Messes
Even with regular cleaning, some food residues can become stubborn. Deep cleaning addresses these persistent messes, restoring the appliance’s pristine condition. This process requires a bit more effort but ensures the longevity and hygiene of your cooking tool.
Gathering Essential Cleaning Supplies for Your Microwave Sandwich Maker
Before starting a deep clean, gather the necessary tools. You will need warm water, mild dish soap, and a few specialized cleaning aids. Consider having a soft microfiber cloth, a gentle, non-scratch sponge, and possibly a small brush with soft bristles. For tougher spots, a non-scratch sponge works effectively. Many professionals also recommend natural, non-toxic cleaning methods and solutions. These include distilled white vinegar and baking soda, which are excellent for tackling grime without harsh chemicals.
Soaking Away Stuck-On Food from Your Microwave Sandwich Maker
Stuck-on food often requires soaking to loosen its grip. After disassembling the removable plates, place them in a sink or basin filled with warm, soapy water. Allow them to soak for at least 15-30 minutes. This softens hardened food particles, making them much easier to remove. For particularly stubborn residue, a longer soak might be beneficial. The warm water penetrates the grime, breaking down its adhesion to the cooking surfaces.
Scrubbing Grime from Your Microwave Sandwich Maker Components
Once the food has softened, proceed with scrubbing. Use a soft cloth or sponge to protect the surface, especially if your Microwave Sandwich Maker has non-stick coatings. A gentle, non-scratch sponge with warm, soapy water effectively removes most loosened grime. For more persistent food splatters and stains, soft microfiber cloths or sponges, possibly combined with a paste made from baking soda and water, can scrub away the residue without causing damage. Always apply gentle pressure to avoid scratching the cooking plates.
Rinsing and Air Drying Your Microwave Sandwich Maker Parts
After thoroughly scrubbing away grime, individuals must meticulously rinse all components. Use warm, running water to remove every trace of soap and loosened food particles. Residue left behind can affect the taste of future meals or even harbor bacteria. Pay close attention to crevices and corners where soap suds might linger. A complete rinse ensures food safety and maintains the integrity of the cooking surfaces.
Following the rinsing process, complete drying of all components is essential. Moisture left on parts can lead to several issues. It promotes water spots, mineral buildup, and potentially rust on metal elements. Rust compromises the appliance’s longevity and appearance. Users should first use a clean, soft cloth to wipe down each piece. This removes the majority of the surface water.
Subsequently, allow the parts to air dry completely. Place them on a clean drying rack or a dry, absorbent towel. Ensure good air circulation around each component. This step guarantees the evaporation of any remaining moisture. Do not rush this process. Reassembling or storing the appliance with damp parts can lead to mold or mildew growth, especially in enclosed spaces. Proper air drying prevents these issues, preserving the appliance’s pristine condition and ensuring its readiness for the next use. This careful drying process contributes significantly to the overall maintenance and hygiene of the appliance.
Tackling Tough Stains and Odors in Your Microwave Sandwich Maker
Even with diligent cleaning, some appliances develop stubborn stains or lingering odors. These issues require targeted solutions to restore the appliance’s pristine condition and ensure hygienic use. Specific natural remedies effectively address these challenges.
Using Baking Soda Paste for Stains in Your Microwave Sandwich Maker
Baking soda offers an excellent abrasive yet gentle solution for tough stains. Users can create a paste by mixing a small amount of baking soda with water. Apply this paste directly onto the stained areas. Allow the paste to sit for 10-15 minutes. This duration gives the baking soda time to break down the stain. Afterward, gently scrub the area with a soft cloth or sponge. The mild abrasive action of the baking soda helps lift the discoloration without damaging surfaces. Rinse the area thoroughly with clean water to remove all residue.
Applying Lemon Juice for Freshness in Your Microwave Sandwich Maker
Lingering food odors can be unpleasant. Lemon juice provides a natural and effective deodorizer. Squeeze fresh lemon juice onto a soft cloth. Wipe down the interior surfaces of the appliance with the lemon-infused cloth. The citric acid in lemon juice neutralizes odors, leaving a fresh, clean scent. For persistent smells, place a small bowl of lemon juice inside the closed appliance for a few hours. This method allows the lemon’s aroma to permeate and refresh the interior.
Disinfecting Your Microwave Sandwich Maker with Vinegar
Vinegar serves as a powerful natural disinfectant. It effectively kills bacteria and removes grime. Mix equal parts white vinegar and water in a spray bottle. Lightly mist the interior surfaces of the appliance. Allow the vinegar solution to sit for 5-10 minutes. This contact time ensures proper disinfection. Wipe down the surfaces with a clean, damp cloth. The vinegar smell dissipates quickly as it dries, leaving a sanitized and clean surface. This method provides a chemical-free way to maintain hygiene.
Preventing Future Messes in Your Microwave Sandwich Maker
Preventative measures significantly reduce cleaning efforts. Implementing simple habits before and during use keeps the appliance cleaner. These strategies minimize food spills and residue buildup.
Using Cooking Spray Wisely with Your Microwave Sandwich Maker
Users apply cooking spray to prevent food from sticking. A light, even coating works best. Excess spray creates a sticky residue. This residue attracts crumbs and becomes difficult to remove. Over time, it can build up on the cooking plates. Apply spray sparingly for optimal results. This practice helps maintain the non-stick properties of your Microwave Sandwich Maker.
Avoiding Overfilling Your Microwave Sandwich Maker
Overfilling causes significant messes. Food expands during cooking. Excess ingredients spill over the edges. These spills bake onto the appliance’s exterior. Cleaning baked-on food requires extra effort. Always observe the fill lines or capacity recommendations. Proper portioning prevents overflow. This simple step saves considerable cleaning time.
Lining Your Microwave Sandwich Maker with Parchment Paper
Parchment paper offers an effective barrier. It prevents direct food contact with the cooking plates. Cut parchment paper to fit the plates. Place it on both the top and bottom surfaces. This method significantly reduces cleanup time. Food residue adheres to the paper, not the appliance. Simply discard the paper after use. This technique keeps the cooking surfaces pristine.
Proper Storage and Maintenance for Your Microwave Sandwich Maker’s Longevity
Proper storage and consistent maintenance significantly extend the lifespan of any appliance. These practices protect the unit from environmental damage and operational wear. Users ensure their Microwave Sandwich Maker remains functional and efficient for many years.
Storing Your Microwave Sandwich Maker in a Dry Place
Moisture poses a significant threat to electronic appliances. Storing your appliance in a dry environment prevents rust and corrosion. A kitchen cabinet or pantry offers an ideal location. Avoid damp basements or areas near sinks where humidity levels are high. Excessive moisture can damage internal components and compromise electrical safety. A dry storage area preserves the appliance’s appearance and functionality.
Keeping Your Microwave Sandwich Maker Covered
Dust and debris accumulate on appliances over time. This buildup can affect performance and hygiene. Covering the appliance when not in use provides effective protection. A simple cloth cover or even its original packaging box works well. This barrier prevents dust from settling on cooking surfaces and entering ventilation slots. A covered appliance stays cleaner between uses, reducing the need for frequent deep cleaning. It also protects against accidental spills or splashes.
Inspecting the Power Cord of Your Microwave Sandwich Maker
The power cord is a critical component for safe operation. Regular inspection prevents electrical hazards. Users should check the cord for any signs of fraying, cuts, or exposed wires. Damaged cords pose a risk of electric shock or fire. Never use an appliance with a compromised power cord. If damage is present, replace the cord or consult a qualified technician. Ensure the cord is not kinked or pinched during storage. Proper cord care maintains electrical integrity and user safety.
Consistent care ensures your appliance remains pristine. You will enjoy delicious, perfectly cooked sandwiches every time. A well-maintained Microwave Sandwich Maker lasts longer and performs better, providing reliable service for years. These simple steps guarantee optimal performance and hygiene.
FAQ
How often should one clean a microwave sandwich maker?
Users should clean the appliance after every use. This prevents food buildup and maintains hygiene. A deep clean is recommended monthly or when stubborn messes appear. Regular cleaning ensures optimal performance and longevity.
Can one use abrasive cleaners on non-stick surfaces?
No, abrasive cleaners can damage non-stick coatings. They scratch the surface, causing food to stick. Always use soft cloths, sponges, and mild dish soap. This protects the non-stick integrity.
What causes a microwave sandwich maker to smell bad?
Lingering food particles or grease can cause unpleasant odors. Inadequate cleaning allows bacteria to grow. Regular cleaning and deodorizing with lemon juice or vinegar eliminate these smells. Proper drying also prevents mildew.
Is it safe to put removable plates in a dishwasher?
Some removable plates are dishwasher-safe. Users should always consult the manufacturer’s instructions. Dishwasher detergents can sometimes be too harsh for certain coatings. Hand washing often extends the life of non-stick surfaces.


